Romantic and Dreamy Engagement Session by JM Photography

There is a magical time of evening know in the photography world as “Golden Hour”. The time leading up to sunset really is a wonderful time to create natural light portraits, and then you can even catch the sunset right at the end of your session. For this engagement session, my clients and I headed out to a local park/campground that sits right up next to a body of water on one side, sage brush on the other, and beautiful aspen trees on another. I loved the variety we were able to get with just this one location!

**I’ve had some people asking for the location, and these were all taken at Beaver Dick Park in Rexburg, ID**

webat9a8046

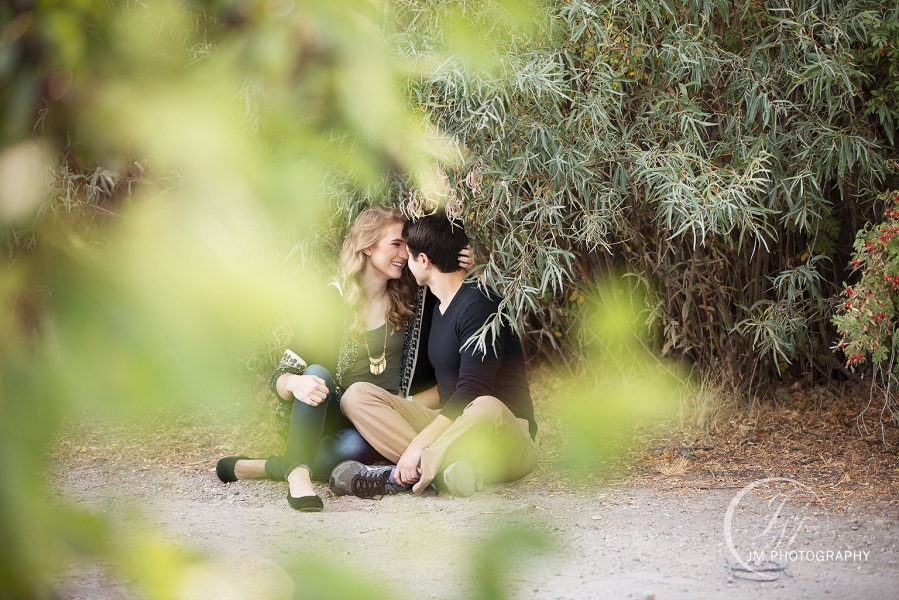
Here is one of my favorite techniques to create a romantic portrait. I like to have the couple tuck back behind some brush or other greenery that I can shoot through to create the feeling that they are sharing a sweet secret moment away from the cares of the world. In this portrait, I have my camera set up behind a tree branch and used depth of field to create the effect.

at9a8197

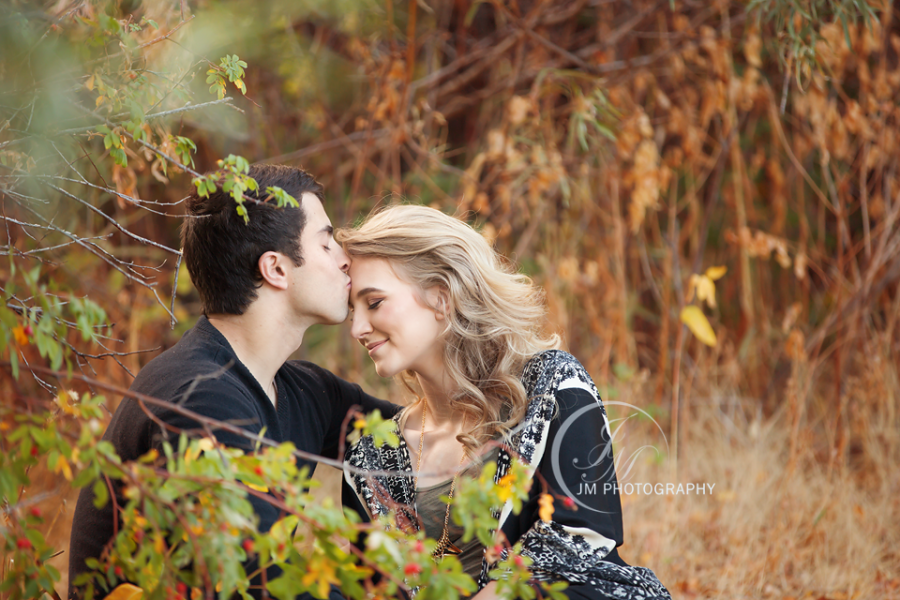
Here I used the same idea again, only with the shrubbery directly in from of them, almost on the same focal plane. I love the intimacy of these portraits because they feel like they are in their own little world.

JM Photography couple and engagement portraits

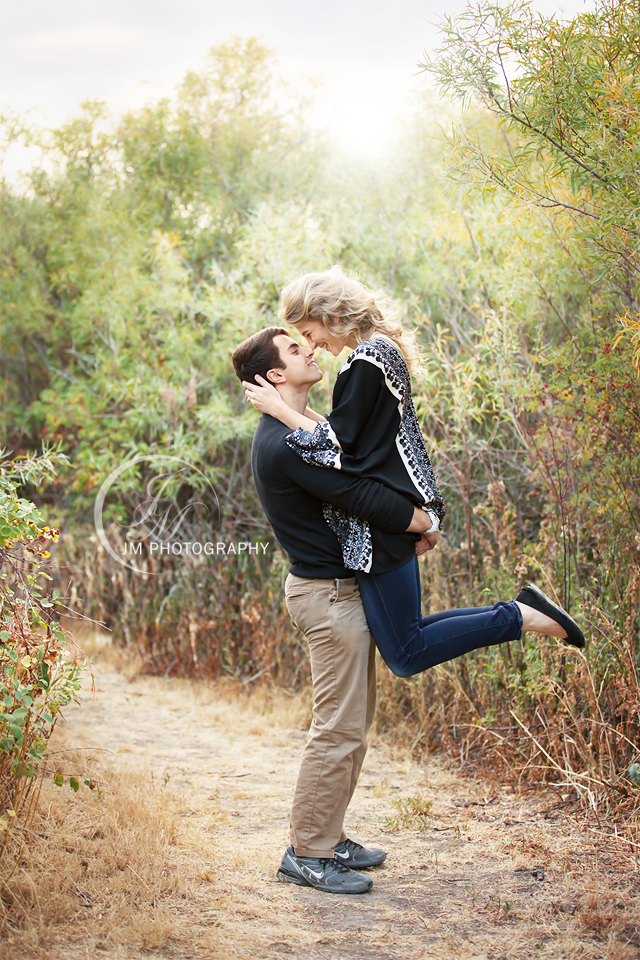
I also love to find natural paths, or man-made walkways between trees and tall grasses. This provides a framing to the portrait that really draws the eye right in to the couple. You can also use the path to have them interact with each other by holding hands and walking.

JM Photography wild rabbit photo

Here’s a cute little guy that wondered into our shoot and I had to grab a quick shot.

at9a8360

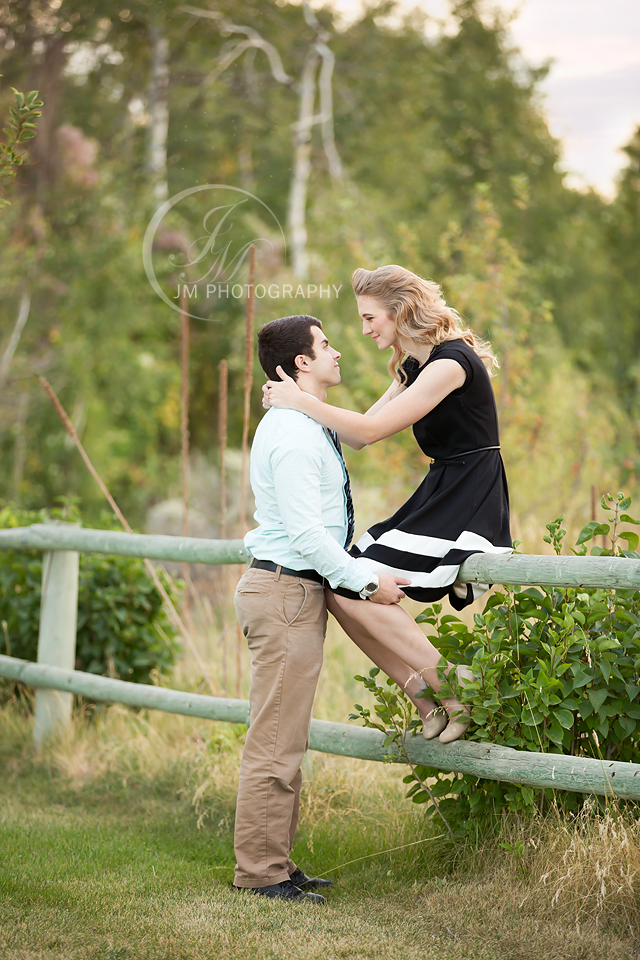
I love to find layers of trees or bushes to create interest and different depths of field through out the image like in this example and the next.

at9a8237

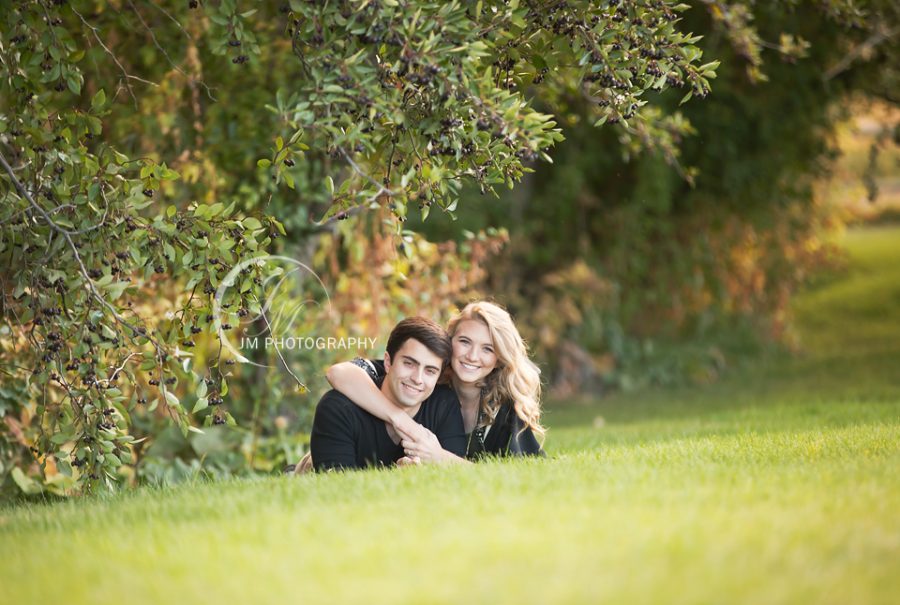
Never be afraid to try out different camera angles. I was laying on my stomach for this shot, just like this couple.

at9a8259

These cute picnic tables caught my attention and I knew I wanted to try to find a way to incorporate them in a picture without being too gimmicky or using it as too much of a prop.

at9a8403

At this point, you can see the sky begin to change color as the sunset came on. Once this moment hits, you have just a few minutes to get some beautiful, vibrant colors before it gets completely dark.

at9a8471

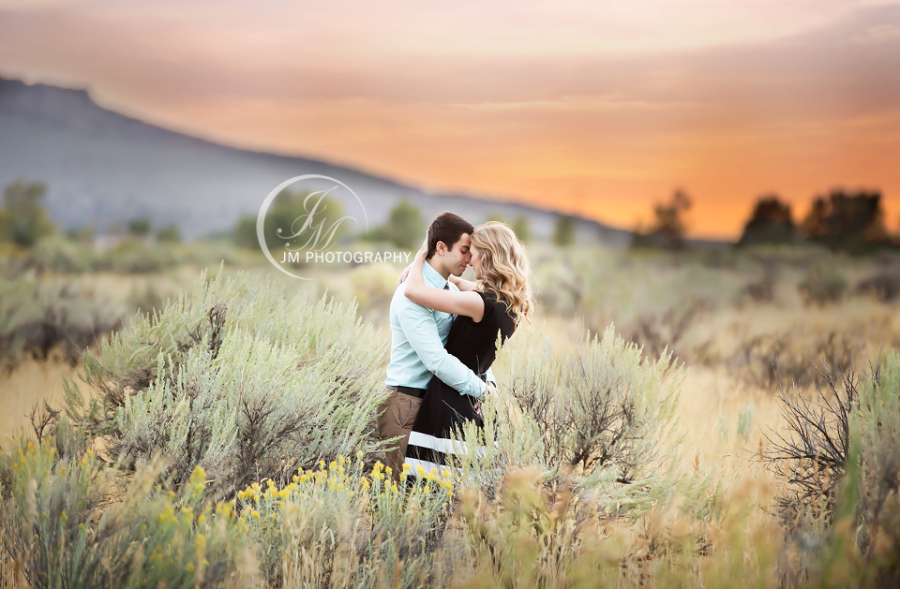
The sunset was just breath-taking on this particular evening.

at9a8515

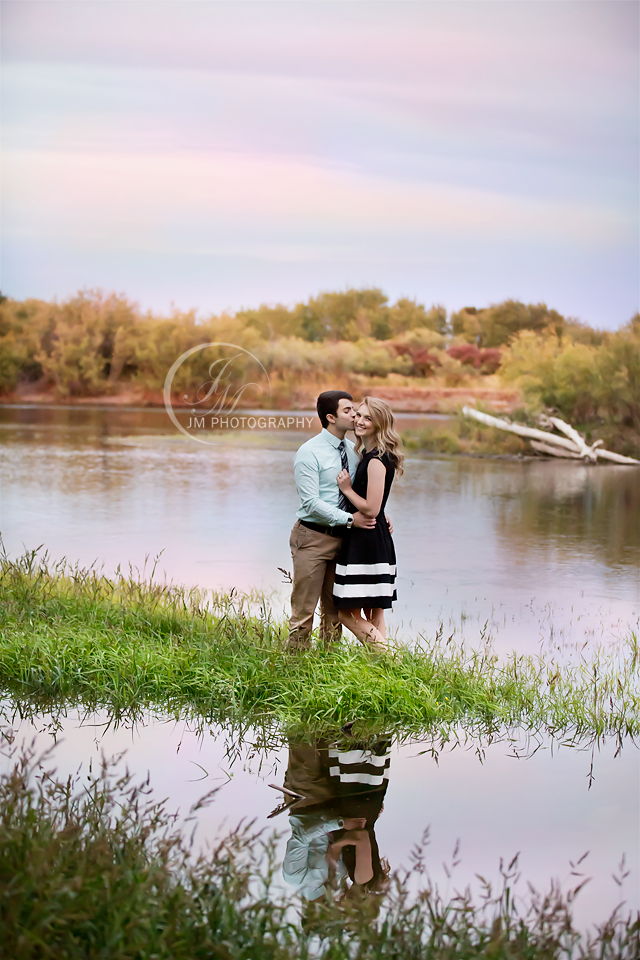
Happily, this sweet couple was willing to wade out into the water for me so we could capture the sunset in the reflection as well. JM Photography couple and engagement portraits

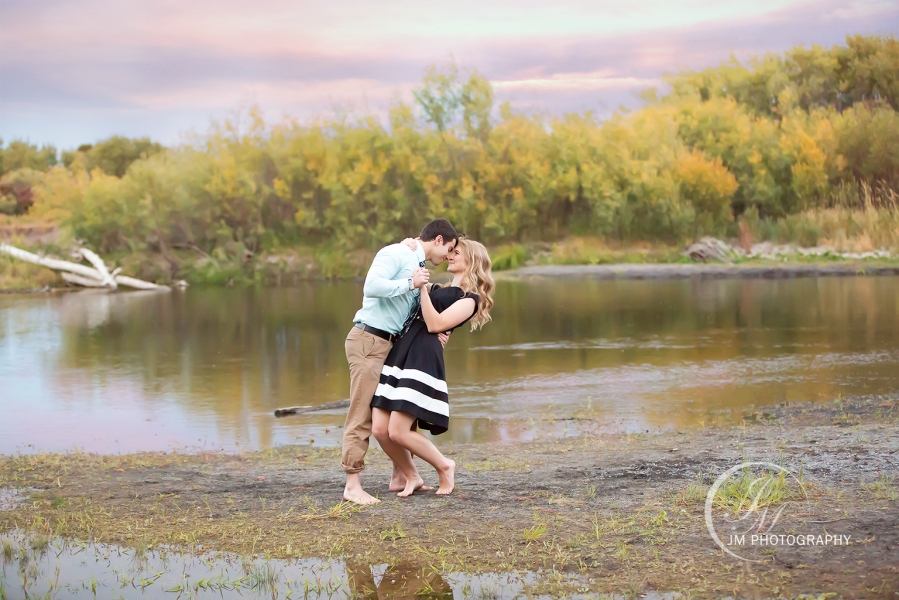
For those that have inquired, this entire session was shot using my 70-200mm, 2.8 lens. I also got a lot of use out of my 5-in-1 reflector, which is an invaluable tool to a natural light photographer in my opinion.

I’d love to answer any questions you may have, just comment below!
.

.

.

As an Amazon Associate I earn from qualifying purchases.

No Babies Were Harmed In The Making Of This Portrait – A How To Guide

JM Photography Newborn Baby Portrait Composite Image


No Babies Were Harmed In The Making Of This Portrait – A How To Guide

How I created this award-winning image using composites, camera angles, and post processing effects.

As a newborn photographer, it is very important to plan every setup with the baby’s safety in mind. The image above was created as an optical illusion using camera angles and post processing. For this infant’s safety, he was never actually lifted up in the air as the image appears.

The set-up:

The first thing I did was lay down a black backdrop on my ottoman. This can also be done using a newborn posing beanbag, the floor, a table or any other surface that is sturdy and safe to set a baby on.

I took the image by standing above the baby, while he was safely laying on the backdrop with his mom’s hands cradling him to create the illusion. She was simply kneeling beside my ottoman and reaching her arms across it to hold him into the pose.

JM Photography Newborn Baby Portrait Composite Image Newborn Picture Safety Poses

The composite:

I wasn’t able to find an image that was exactly what I was looking for, so I knew I would need to combine elements of 2 different photos to achieve the best result. After making my basic adjustments to the raw files using Adobe Camera Raw, I loaded the two images into Photoshop and combined the baby’s lower half from one image with the baby’s upper half from the second image.

how to composite a newborn picture

I achieve my composites with a variety of procedures and tools, and I’d be happy to elaborate more on that process in a future post if there is interest. Just let me know in the comment section of this post!

Shaping the illusion:

From there, I just needed to make a few more adjustments to the composited image to finish up the illusion that the baby was being held in the air. To simulate gravity’s effect on the baby, and get the perspective perfect, I used a bit of liquify and puppet warp. This also helped create the perfect squishy pose I was after.


Finishing touches:

From here it was just a matter of adding the finishing touches to create the final portrait. I touched-up Mom’s fingernails, made some level adjustments, and any other clean up that needed done.

JM Photography Newborn Baby Portrait Composite Image

JM Photography black and white Newborn Baby Portrait Composite Image Newborn Picture Safety Poses how to create


Here is a final example of a similar image using a 3 month old baby:

JM Photography Newborn Baby Portrait Composite Image Newborn Picture Safety Poses how to create

Let me know what you think in the comments. I’d be happy to answer any questions or respond to any feedback. Thank you!

For those interested, here are links to some helpful items for these types of poses:

Newborn Posing Bean Bag

Bean Bag Filler

Black Backdrop

.

.

.

As an Amazon Associate I earn from qualifying purchases.